Review of the Olympus OM-D E-M1 Camera; Olympus 12-40mm f/2.8 Zoom Lens; and the Olympus 75mm f/1.8 Prime Lens
I have been a proponent of Olympus Micro 4/3 camera systems for a long time. The flexibility of having an interchangeable lens camera that is a fraction of the size of a traditional DSLR is great for my needs, particularly when I am taking my camera into the backcountry, where weight and bulk are the enemy.
I’ve been using the Olympus OM-D E-M5 as my primary camera for a couple of years now, and overall have been very happy with it. See my review of the E-M5 and my Micro 4/3 System by Clicking HERE.
However, I’m always a sucker for shiny new gadgets, and so when the new Olympus OM-D E-M1 was released, I decided I would get it as an upgrade to my E-M5 body. (I kept the E-M5 as a backup.) I also picked up a couple of new Olympus micro 4/3 lenses; the 12-40 f/2.8 zoom, and the Olympus 75mm f/1.8 prime. After using this new kit for about a year, these are my impressions:
Weights of gear reviewed in this blog entry:
Think Tank Digital Holster 10 10.4 ounces
Olympus OM-D E-M1 Camera body with battery 17.7 ounces
Olympus 12-40mm f/2.8 zoom lens 15.4 ounces
Olympus 75mm f/1.8 prime lens with lens hood 14.1 ounces
Optech Digital D Midsize Camera case 3 ounces
Shoulder Strap 1.8 ounces
OM-D E-M1 Camera Body
There are a ton of reviews of the EM1 on the web. They discuss everything from ergonomics to image quality. One of the better review sites is DP Review and their take on the EM1 can be found here: OM-D E-M1 Review at DP Review
I’m not going to try to duplicate all of these reviews, as I don’t have the resources they have for all of the analytics they use to assess camera quality. I’m going to focus on how the EM1 works for my needs, with an emphasis on using the EM1 as a backcountry camera for use in climbing, skiing, backpacking, and other backcountry pursuits.
Physical Characteristics of the E-M1.
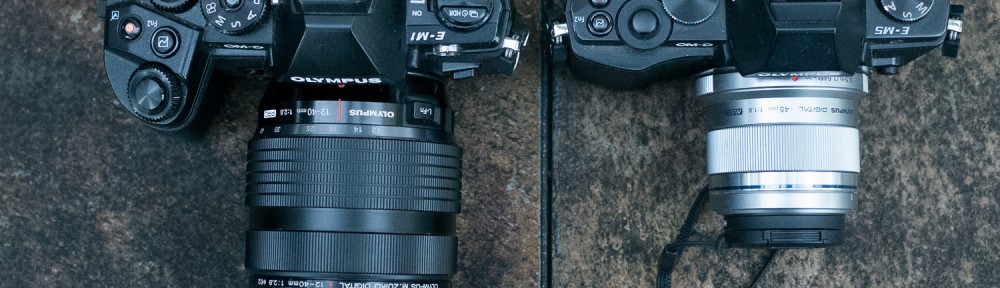
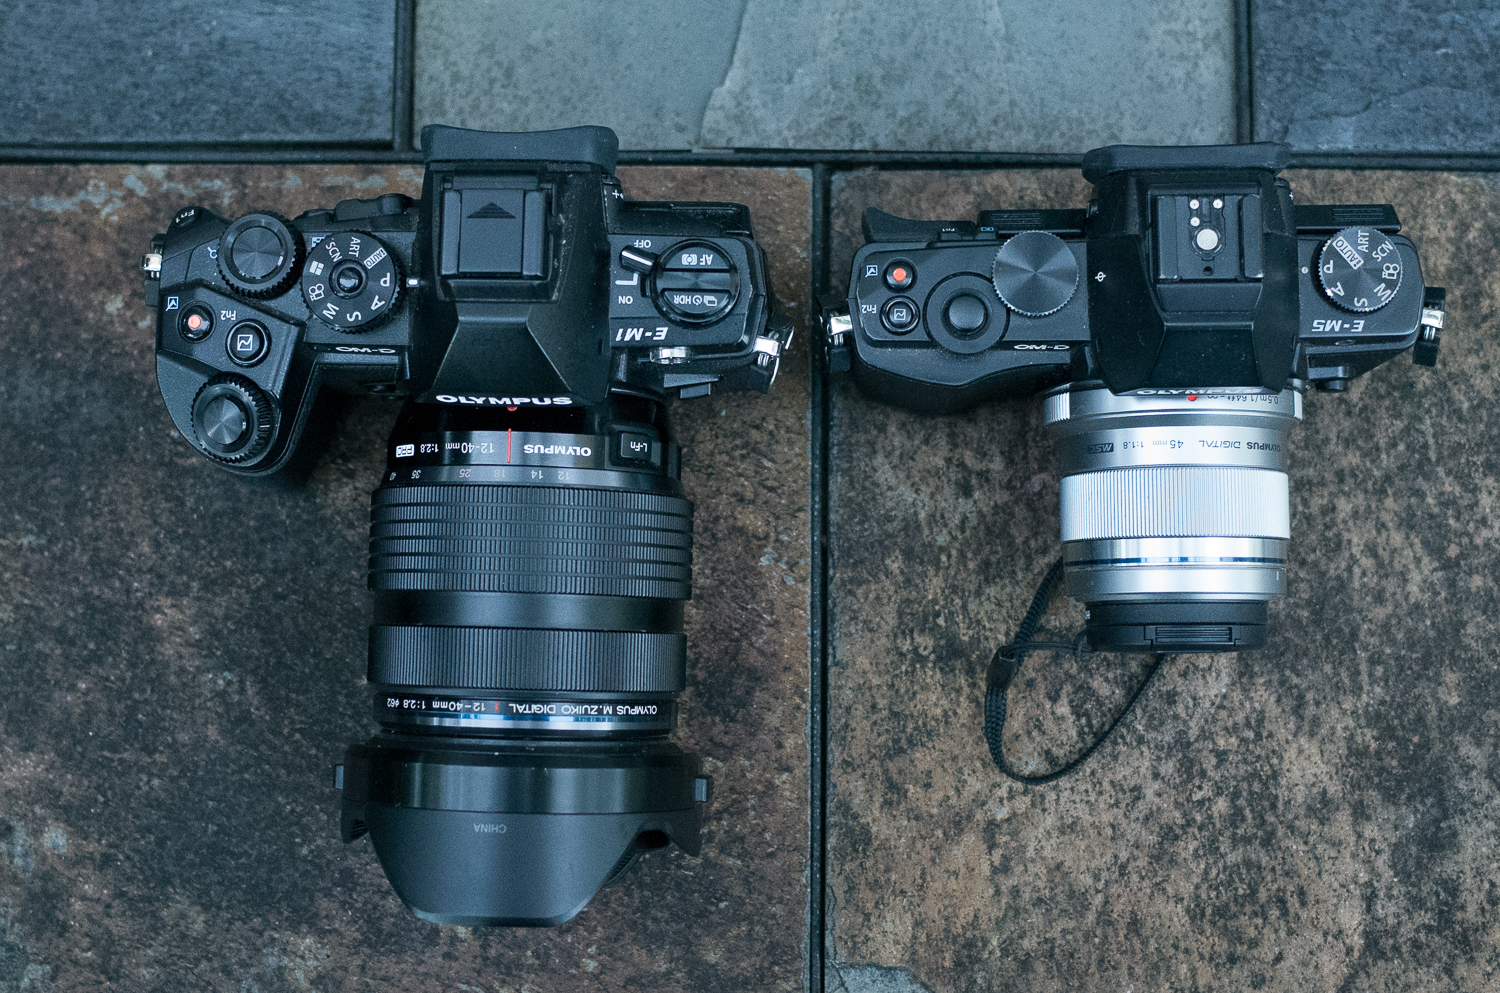
The EM1 weighs 17.7 ounces without a lens. That is a couple ounces heavier than the EM5, which comes in at 15.3 ounces. While the weights of the EM5 and EM1 are so close as to be practically indistinguishable in real life use, the EM1 is a bit bulkier, due to the larger hand grip. The effect of the bigger hand grip is that I can’t quite fit the EM1 into the same carrying case that the EM5 is compatible with and still have room for all the lenses. The EM5 will fit into a Mountainsmith Small Zoom case with 3 prime lenses. The EM1 will only fit 2 primes.
Although the hand grip on the EM1 adds some bulk, it makes one handed shooting with the EM1 very secure. It feels good in your hand, and obviates the need for a wrist strap.
The controls of the EM1 are well thought out, and easy to use even with gloves on. One very simple feature I appreciate is that the PASM control ring is easily locked so you don’t end up changing shooting modes by accident. The tilt screen is useful, and I’ve often used the tilt screen to compose a shot while holding the camera away from my body for a slightly different perspective. (Especially good for taking pictures of your climbing partner from above.)
Battery life with the EM1 is excellent, and I can take hundreds of shots without needing to change it. The viewfinder is very bright and clear. Image quality of the photographs is also excellent, with a very slight but (barely) noticeable improvement over the EM5 in color rendition and dynamic range.
The EM1 is weather resistant, which means that its body is sealed against dust and rain. You can’t take it swimming, but rain and snow will not harm the camera, provided that it is used in conjunction with a weather sealed lens. (The Olympus 12-40mm f/2.8 lens is weather sealed.) The EM1 is also somewhat shock resistant. Theoretically, you can drop it or bang it around and it will be more likely to survive such abuse than a normal camera. I try not to test this feature, but I have subjected the EM1 to a fair amount of abuse (including some falls while skiing) and so far it seems unaffected by the bumps and falls inherent in backcountry activities.
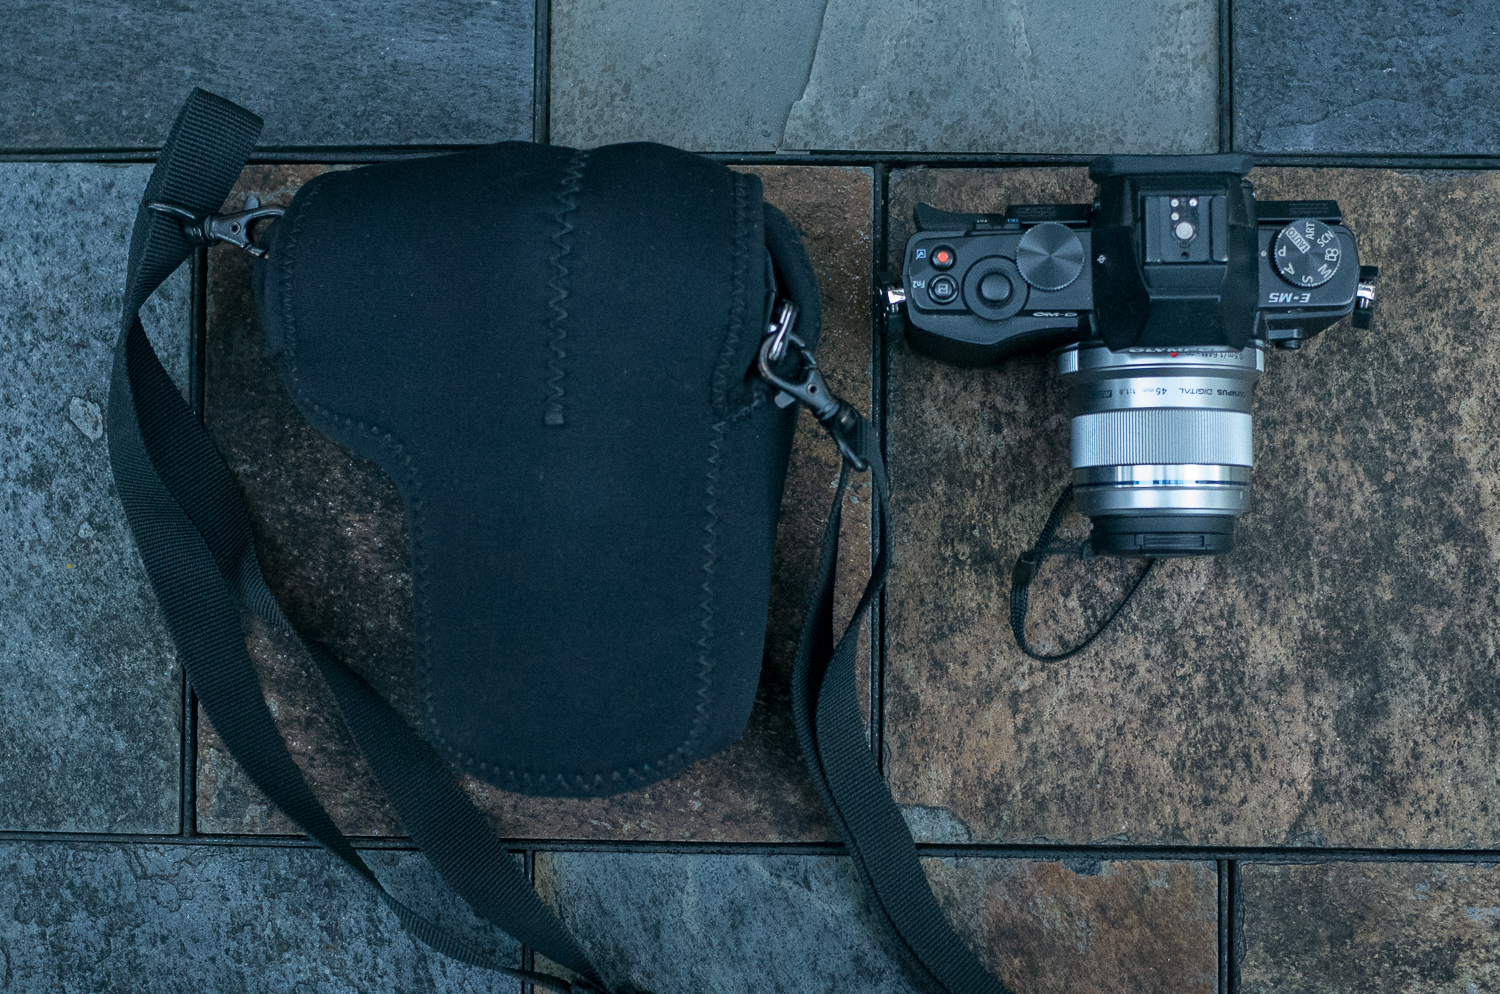
I use the EM1 most often in combination with the Olympus 12-40mm f/2.8 zoom. (More on that lens below.) The case I use 90% of the time with the EM1 body and 12-40mm lens combo is an Optech Digital D Midsize neoprene camera cover. This soft neoprene cover fits the EM1 with the 12-40mm lens perfectly, and provides some protection from bumps, scratches, dust, and precipitation. Generally, I just keep the camera slung cross-body over my shoulder using a detachable shoulder strap. When I need to use the camera, I just pull the stretchy Optech neoprene cover off, take some photos, then slip the cover back on. The Optech cover is not as weather proof or padded as a traditional camera case, but because both the camera body and lens are weather proof, I don’t really worry much about keeping things absolutely dry.
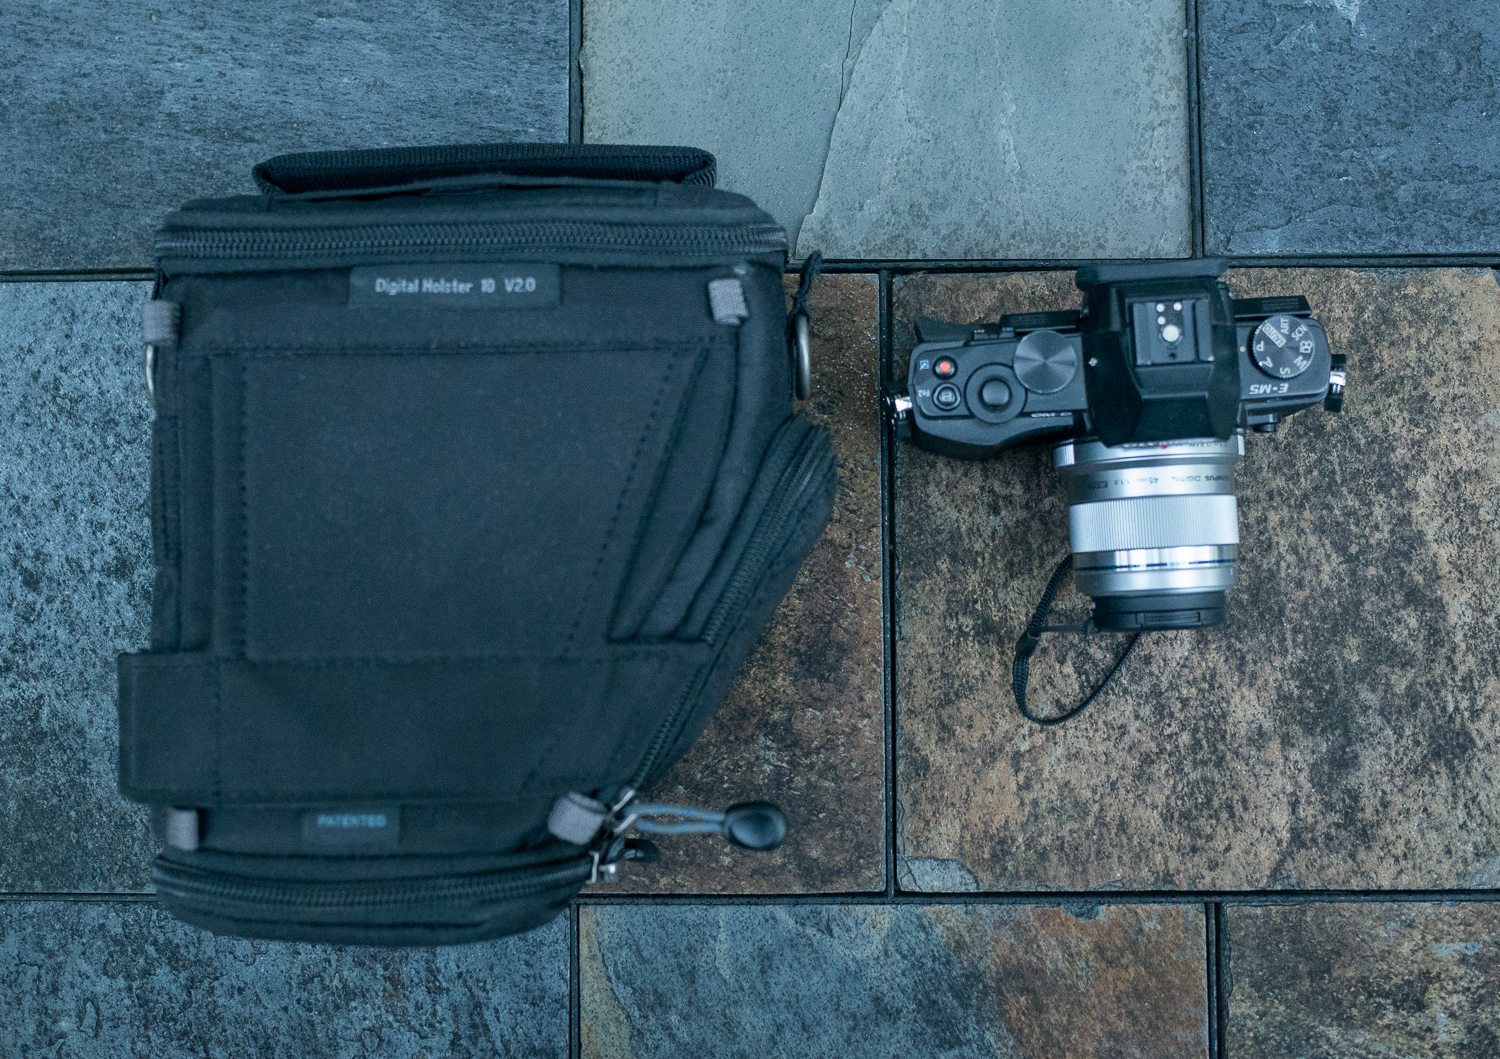
For those occasions when I want additional protection, or when I want to attach the camera to a pack hipbelt, I use the Think Tank Digital Holster 10. This camera case fits the EM1 very well when the EM1 is coupled with the 12-40mm lens, and the case can even expand a bit to accommodate a longer lens if necessary.
In general, I have found that for just about every activity other than difficult climbing, the easiest way to carry the EM1 is in the Optech case, slung over my shoulder. This is my preferred method for skiing and hiking. For climbing, having the camera slung over my shoulder tends to get in the way of my gear and flops around a bit too much. When I take this camera climbing, I either attach it to my packbelt in the Digital Holster, or I just leave it in the Optech case and put it in my pack. Having the EM1 in my pack while climbing means that I only get it out when I’m at a belay. This typically isn’t a big problem, however, because I always have a pocket camera with me on climbs, so I use the pocket camera for impromptu photo opportunities where it’s inconvenient to access the EM1.

Some useful features of the EM1 (that the EM5 doesn’t have) that are helpful when using legacy (non micro 4/3) lenses.
A couple of advantages of the EM1 when compared with the EM5 relate to use of non-micro 4/3 lenses. The first is the ability to utilize autofocus with Olympus DSLR lenses. The EM1 uses both contrast detection and phase detection auto-focus, while the EM5 is contrast detection only. I actually have no idea what “phase detection” even means, but the practical result of having phase detection is that I can use legacy Olympus four thirds DSLR lenses on the EM1 (with an adapter) and the auto focus works like it should. This is useful to me, because I happen to own a very nice Olympus 50-200 f/2.8-3.5 zoom lens, and I can now fully utilize the autofocus features of this lens. With the EM5, the autofocus performance was so bad, I pretty much had to just use manual focus.

The other feature that the EM1 has that the EM5 lacks is “focus peaking.” Focus peaking is a focusing aid that helps when you are using manual focus lenses, including the old Canon FD lenses that I often use with my Olympus micro 4/3 cameras. The focus peaking feature provides a little “halo” on the edges of whatever part of the picture is the center of focus. This makes focusing with a manual focus lens quite a bit faster. If you’ve never used focus peaking before, you may have a difficult time understanding exactly what I’m talking about. If you’d like an explanation, here’s a nice video that demonstrates focus peaking on the EM1.
The Olympus 12-40mm f/2.8 Zoom Lens
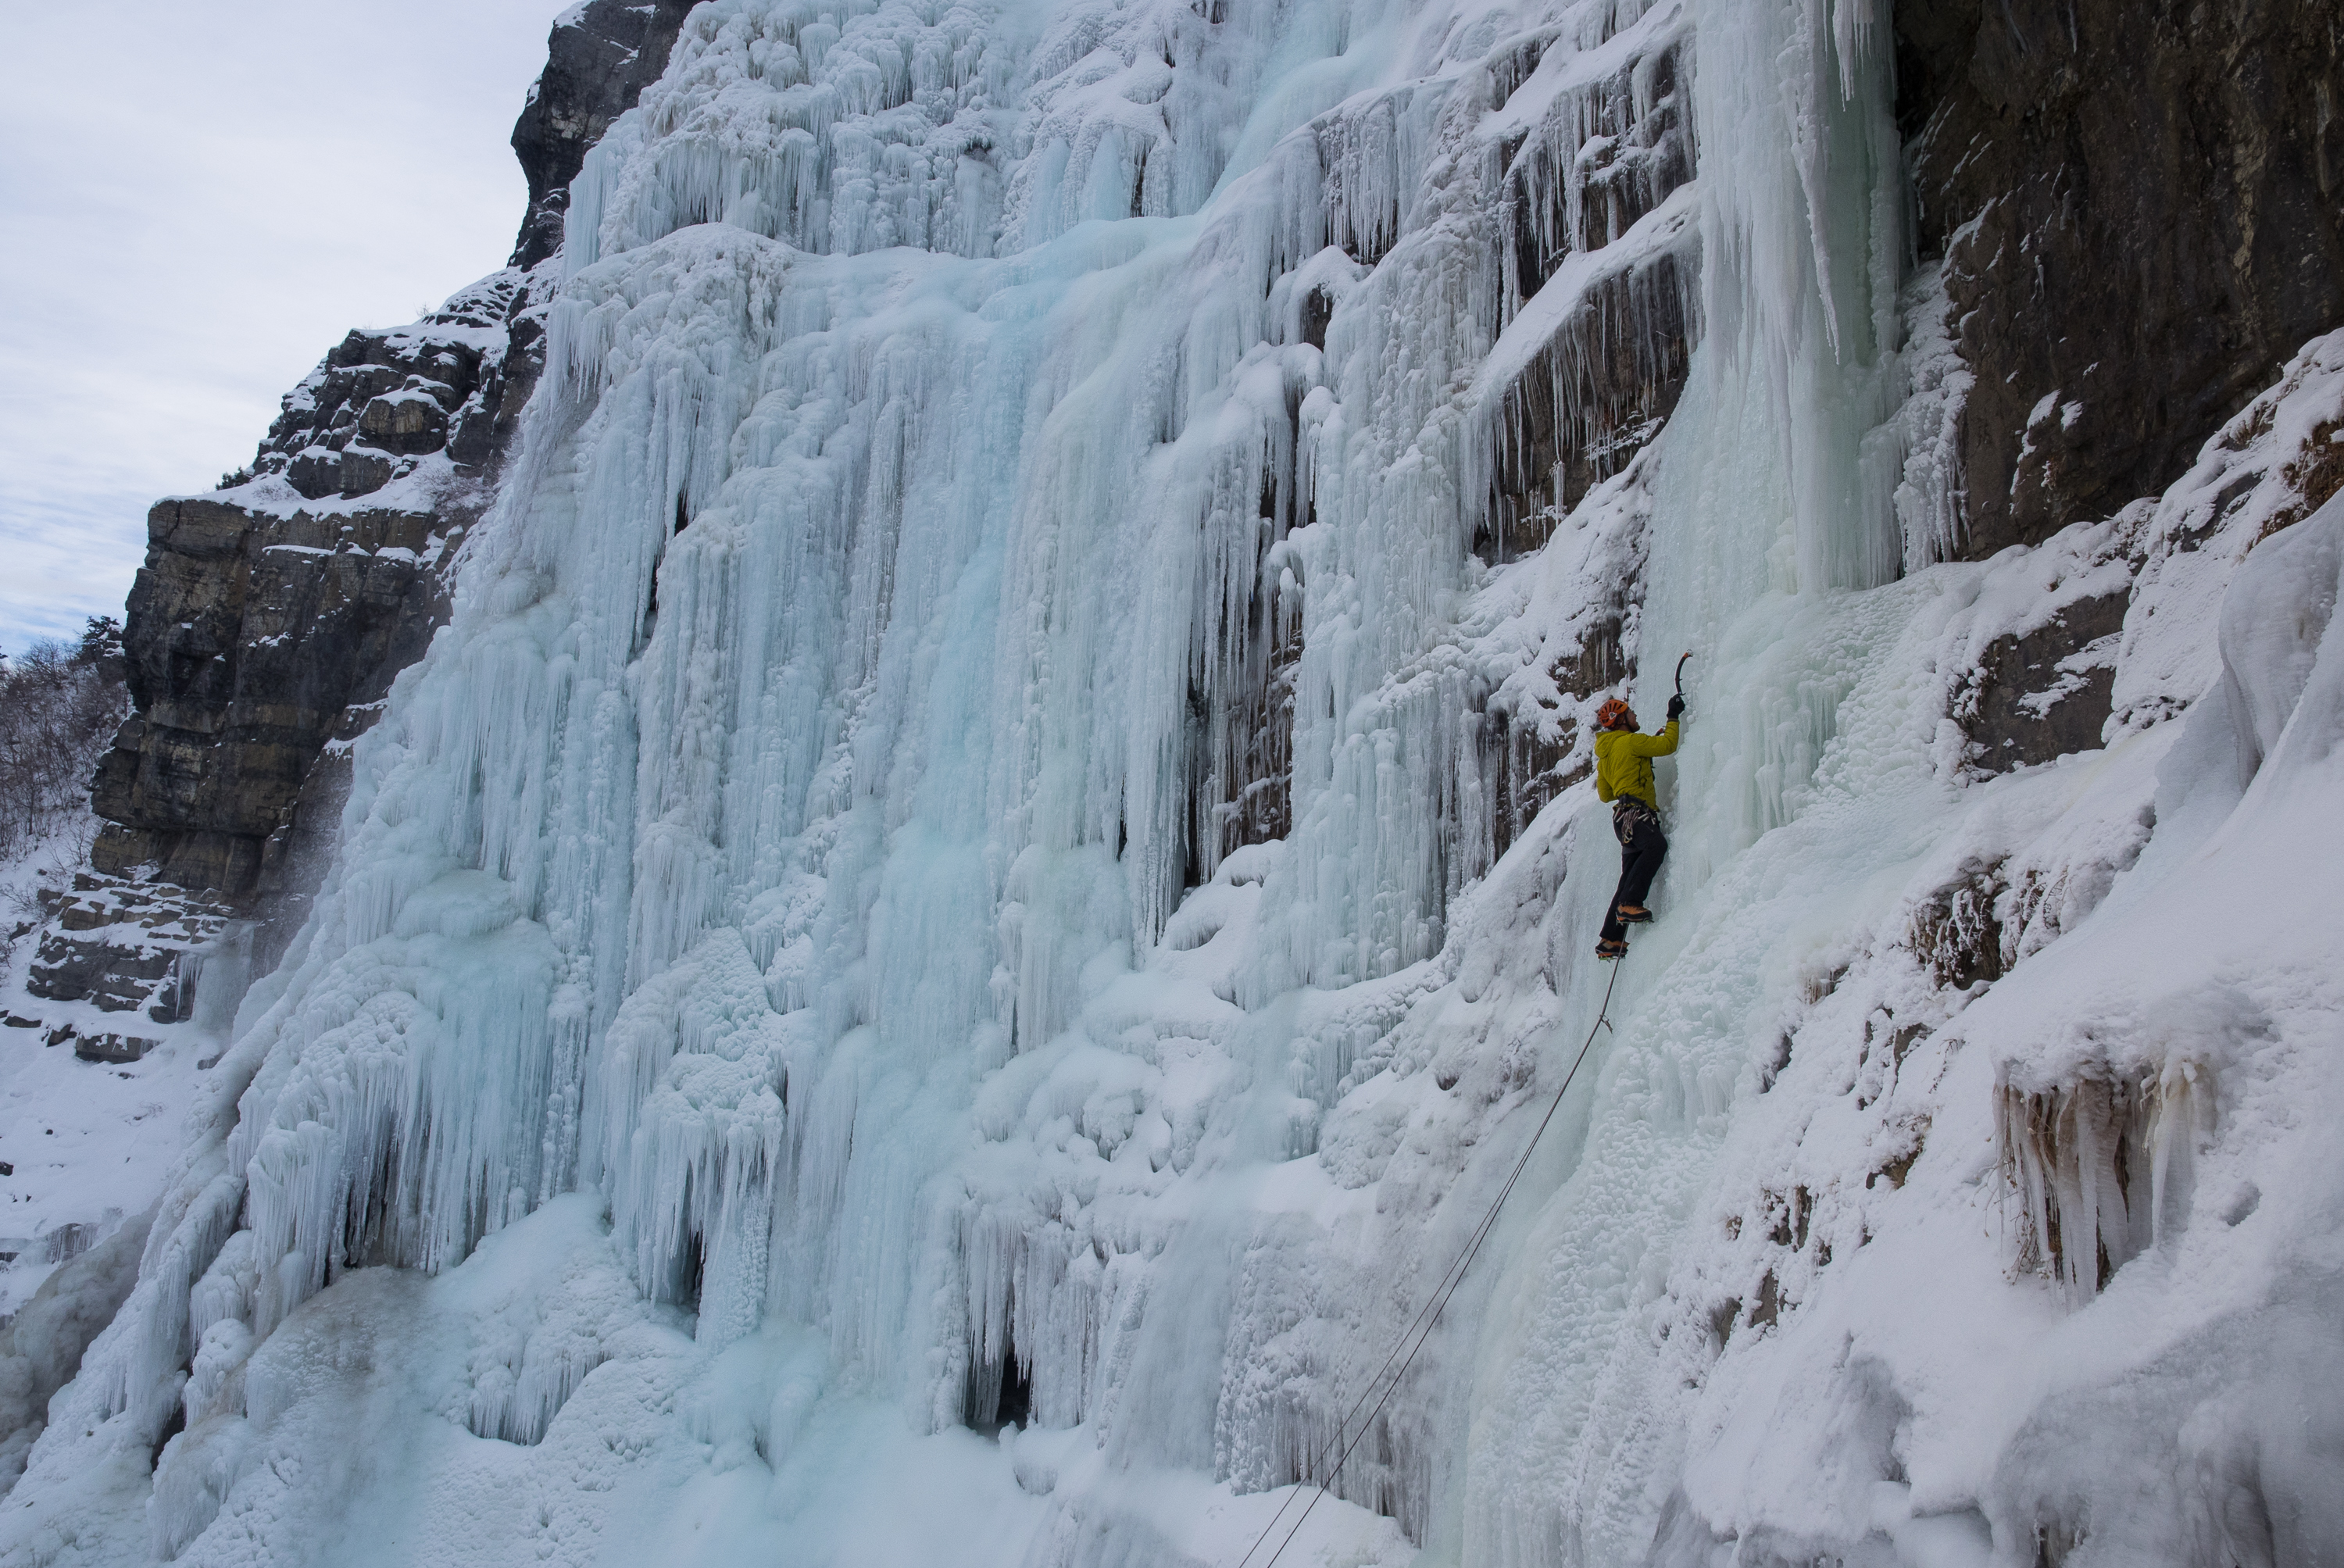
This lens has become my go-to lens for my EM1 camera. When I sorted my EM1 photos in Lightroom, I found that I have taken more EM1 shots with the 12-40mm zoom lens than all of my other lenses combined. It is really close to being the perfect “one size fits all” backcountry lens. The 12-40 zoom range on a micro 4/3 camera is the equivalent of a 24-80 zoom on a full frame camera. This combination of wide angle and short telephoto capability is ideal for climbing, as it allows you to get both “scenic” captures and “up close and personal” shots as well. The two photos below give a good representation of the versatility of the 12-40mm zoom range. I have found the lens to be very sharp across the entire zoom range and apertures. Some of the high quality primes may be better, but in real-world use, I haven’t had any reason to complain about the image quality I get when using this zoom lens. For those who are interested in the details of the optical qualities of this lens, there is a very comprehensive review of the 12-40mm lens at SLRGEAR.com Click HERE.

The lens has an f/2.8 aperture that is constant across the entire zoom range. 2.8 isn’t as fast as some of the prime lens options that are available, but I’ve found that it is adequate for most dim lighting situations, particularly because the EM1 has excellent image stabilization capabilities and decent high-ISO performance. As mentioned above, this lens is weather resistant and dust resistant. When coupled with the similarly sealed EM1, you don’t have to worry about rain or snow ruining your camera gear, and I can dispense with a heavy water proof camera bag. I happily carry the camera in any weather without worry.


Overall, I am extremely pleased with the Olympus 12-40mm lens. It feels like it was made specifically to complement the EM1 camera body. Indeed, I really feel like if you have the EM1, you’re doing yourself a disservice if you don’t also buy the 12-40mm zoom to go with it. This camera lens combination is what I take with me now for the majority of my backcountry trips (When climbing, I’m typically carry a pocket camera in addition to or instead of my micro 4/3 camera.) The benefits of of great image quality, rugged weatherproof build, and a relatively compact design (for an interchangeable lens camera) make the EM1 and 12-40mm zoom an ideal combination for outdoor photography.
The Olympus 75mm f/1.8 Prime Lens
As outlined above, the EM1 and 12-40mm zoom is my new go-to camera-lens combination for backcountry photography. However, if I’m going to add an additional lens to my backcountry quiver, the 75mm is generally the first lens I will toss in to supplement the 12-40mm zoom.
The Olympus 75mm lens is an extremely high quality piece of glass. Reviews of this lens have been universally positive, and the excellence of this lens has been borne out by my experiences with it as well. For a feel for the detailed optical characteristics of this lens, you can check out a Review of the Olympus 75mm f/1.8 lens HERE
Size and weight of the 75mm lens are pretty close to the 12-40mm zoom. The zoom is about an ounce and a half heavier, and they have comparable bulk.
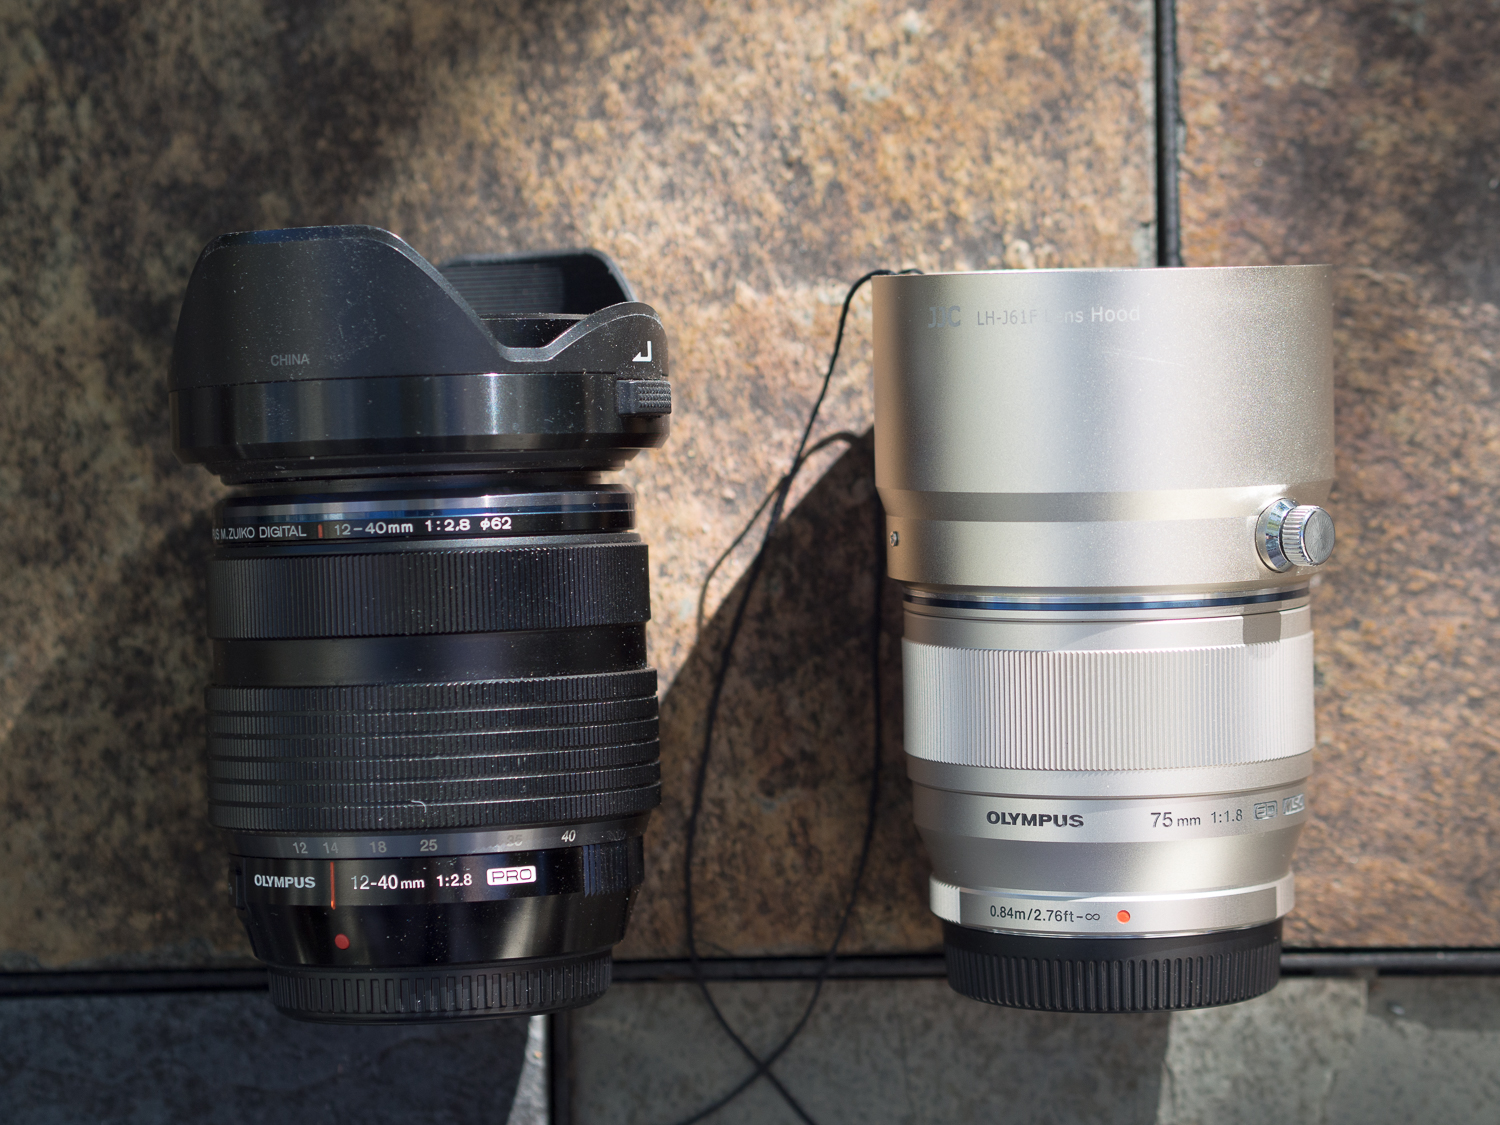
This 75mm lens is not weatherproof, so you have to be more careful with it than with the sealed 12-40mm zoom. Another negative is that the lens does not come with a lens hood, and you need to buy the hood separately if you want one. (I bought a generic hood rather than the uber-expensive Olympus hood.)
On a micro 4/3 camera, the 75mm length is the equivalent of a 150mm on a full frame sensor, so it serves as a medium telephoto. For me, this is a good compromise between bulk, weight and telephoto capability. Generally, I don’t have the dedication to carry anything bigger or heavier than this into the backcountry unless it’s just a short day trip. However, I’ve become accustomed to carrying the 75mm with me, as it gives me decent telephoto capability in a relatively lightweight package. Below are some examples of the sorts of photos you can capture with the 75mm. The longer focal length gives you more control over depth of field than you would have with a wider angle lens, and the medium telephoto capability also allows you to get a little tighter on your subject.

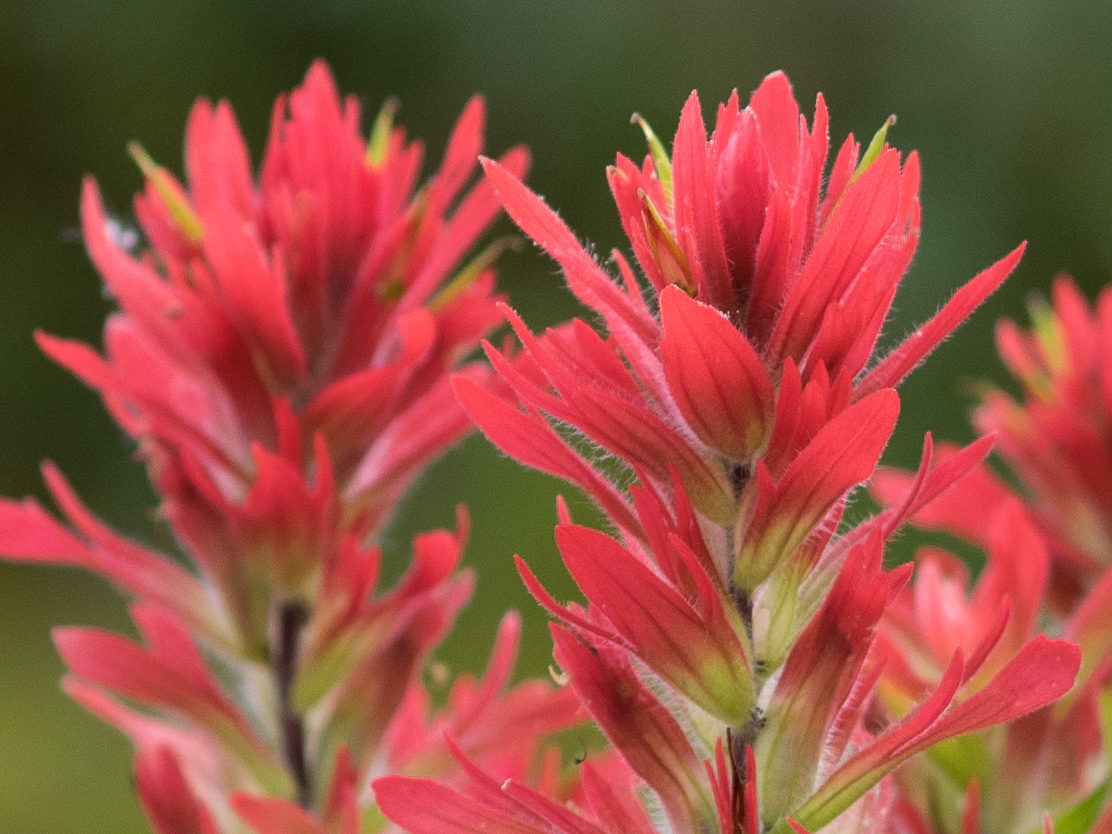
While the 75mm length isn’t going to replace a super telephoto for true wildlife shooting, I’ve found that it’s often sufficient for taking photos of various shy critters that I encounter while traveling the backcountry. The medium telephoto focal length allows me to keep enough distance between me and my subject that I can often avoid spooking the animal, provided I am careful and slow in my movements.

One use I have found for the 75mm lens is taking very detailed panorama shots of big vistas. The photograph below is a panorama stitch of two photographs taken with the 75mm lens. I could have taken the same field of view with a wider angle lens, but I would not have been able to capture the same level of detail with a regular wide angle shot. Looking at the full size TIF file, I am impressed by the detail in the photo, and it serves to emphasize the utility of a telephoto lens as a landscape tool when used in combination with panorama stitching software.
Download Panorama Full size TIF File HERE (69Megabyte File)

The f/1.8 maximum aperture of this lens makes it good for low lighting situations. It’s not really backcountry related, but I have found it to be a great “stage” lens for taking photos of performances in less than ideal lighting situations.

Really, I can’t say enough good things about the 75mm lens. Combined with the 12-40mm zoom, it has become the 2nd part of my 2 lens backcountry solution. It combines sharpness, medium telephoto reach, and terrific build quality in a reasonably compact package.